Connect, Install, and Deploy
Detailed Guide to Commands on MobaXterm
In this section, you will execute commands to connect to the copia-ec2 server, then install the environment and deploy the FastAPI backend application.
Note: The commands must be executed sequentially. Ensure you have completed the previous step before moving on to the next.
1. Connect to the EC2 Instance
This is the first step, connecting from your computer to the copia-ec2 server in the Public Subnet.
- Open MobaXterm and create a new SSH session.
- Remote host: Enter the Public IPv4 address of
copia-ec2(you can get this from the EC2 Dashboard). - Specify username:
ec2-user. - Use private key: Select the
copia-keypair.pemfile you downloaded. - Set permissions for the key file (if using Terminal on macOS/Linux):
Before connecting, you need to run this command on your personal computer to secure the key file:
chmod 400 copia-keypair.pem
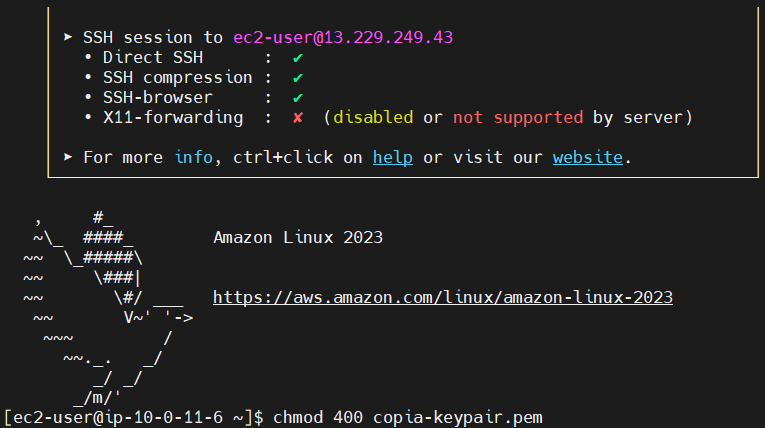
Setting up the SSH session in MobaXterm
2. Install the Environment on the Server
Once successfully connected to the server, install the necessary tools.
-
Update the system:
sudo yum update -y
Updating system packages
-
Install Git and Python:
sudo yum install -y git python3 python3-pip -
Clone the project source code from GitHub:
git clone https://github.com/tuilatri/Amazon_Clone.git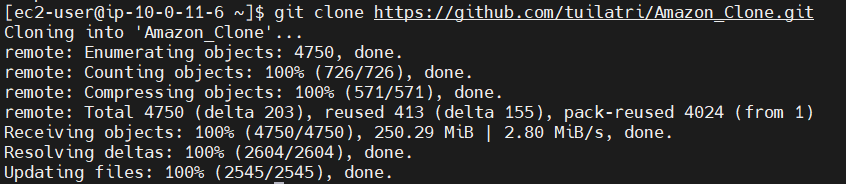
Cloning the project
-
Move into the backend directory:
cd Amazon_Clone/Backend -
Create and activate virtual environment (venv):
python3 -m venv env
source env/bin/activate
3. Install and Configure the Application
-
Install the project’s dependencies:
pip install -r requirements.txt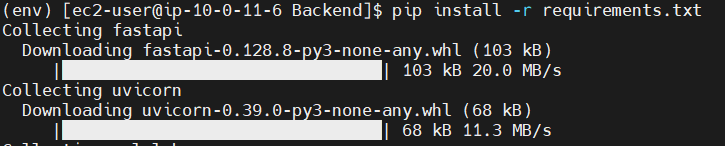
Installing python packages
-
Create the environment variable configuration file:
nano .env -
Enter the database connection and environment variables: In the
nanoeditor, paste the following content and replace it with your information:DATABASE_URL=postgresql://postgres_admin:0812-haminhtri@copia-db.cxo8uaa8gfvl.ap-southeast-1.rds.amazonaws.com:5432/SmartOnlineMarketplaceWebsite EMAIL=tuicodedao@gmail.com PASSWORD=gqwg vxwv zzit syyp SECRET_KEY=your-secret-key-here-change-in-production-min-32-characters-long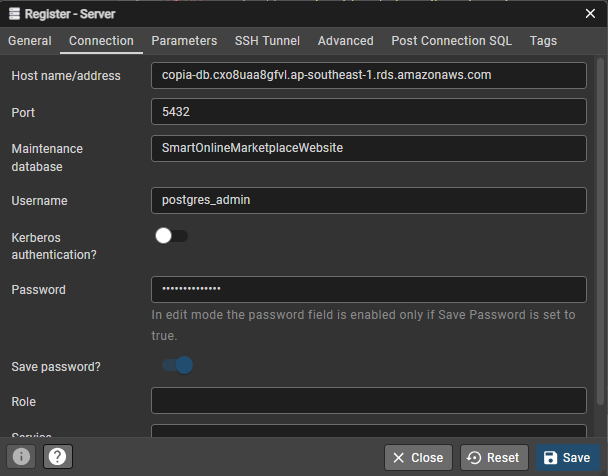

Configuring the .env file
-
Save and exit
nano:- Press
Ctrl + O - Press
Enterto confirm the file name. - Press
Ctrl + Xto exit.
- Press
4. Launch and Test the Backend
-
Launch the application (Daemon mode):
nohup uvicorn main:app --host 0.0.0.0 --port 8000 &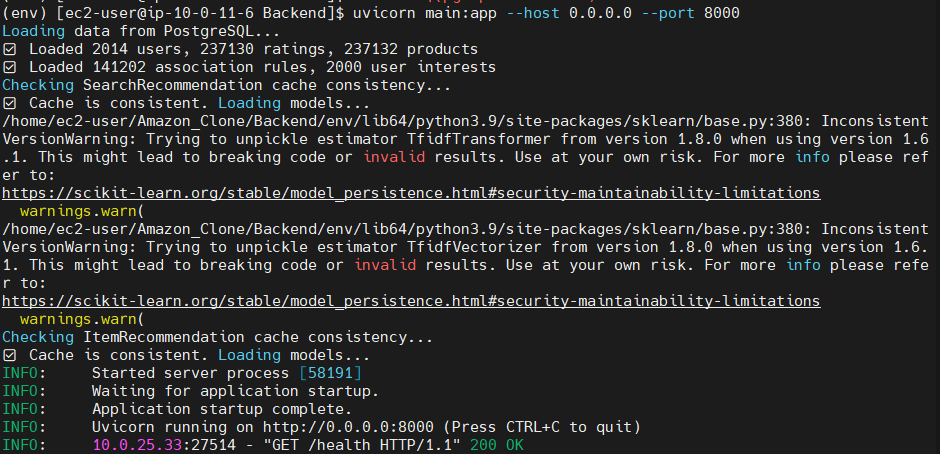
Backend application running on port 8000
-
Test the application’s operation directly on the server: Open a new terminal window in MobaXterm and connect to the same EC2 instance again, then use the
curlcommand to test.curl http://127.0.0.1:8000/healthIf you receive the health check response, it means the application has started successfully!
5. Troubleshooting & Code Update Guide
If you update the code on GitHub but the changes do not appear on the web, follow these steps on the server to pull latest code and restart:
-
Clean old logs and stop old uvicorn processes:
# Kill all running uvicorn processes kill -9 $(pgrep -f uvicorn) sleep 2 -
Move into the backend directory and pull code:
cd ~/Amazon_Clone/Backend git pull origin main -
Restart the application with virtual environment:
source env/bin/activate
> nohup.out
nohup uvicorn main:app --host 0.0.0.0 --port 8000 &
sleep 5
tail -20 nohup.out
Practical example when checking processes:
[ec2-user@ip-10-0-144-101 Backend]$ ps aux | grep uvicorn
ec2-user  3117  0.0  6.6 1127836 64896 pts/1   Sl+   10:15   0:00 /home/ec2-user/Amazon_Clone/Backend/env/bin/python3 -m uvicorn main:app --host 0.0.0.0 --port 8000