Create CloudFront for Backend (ALB)
Create a CloudFront Distribution for the Backend
ℹ️ Objective
- Amazon CloudFront is a Content Delivery Network (CDN) service that helps speed up and secure web applications.
- In this step, we will create a CloudFront distribution to act as the public “gateway” for our backend API, instead of allowing users to access the ALB directly.
- Key Benefits:
- HTTPS: CloudFront will provide a secure HTTPS endpoint for users. It will communicate with the ALB over HTTP within the AWS internal network, simplifying SSL certificate management.
- Performance: CloudFront brings your API closer to users through its global network of Edge Locations, reducing latency.
- Security: It provides an additional layer of protection, hiding the ALB’s actual address, and can be integrated with AWS WAF (Web Application Firewall).
🔒 Steps to Follow
1. Start Creating the Distribution
- From the AWS Management Console, search for and select the CloudFront service.
- Click on Create a CloudFront distribution.
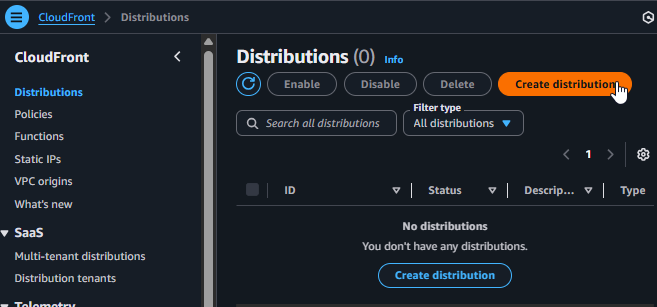
Start creating a CloudFront Distribution
2. Choose Plan
- In the plan selection step, choose the Free Plan (according to the latest AWS policies, this allows you to set up a basic distribution without upfront costs).
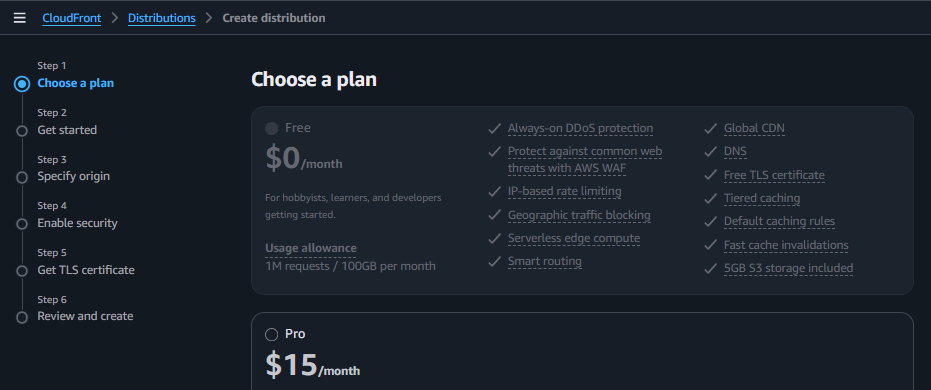
Choose the Free Plan
3. Name the Distribution
- Name:
copia-alb - Description:
copia-alb
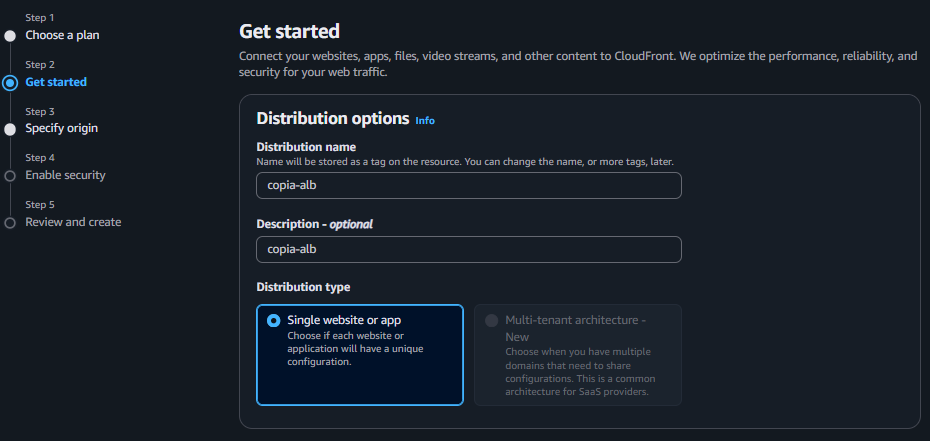
Name the distribution and set description to copia-alb
4. Specify Origin
- Origin type: Select Elastic Load Balancer.
- Load balancer selection: Click Browse load balancers and select the Application Load Balancer
copia-albthat you created in the previous step.
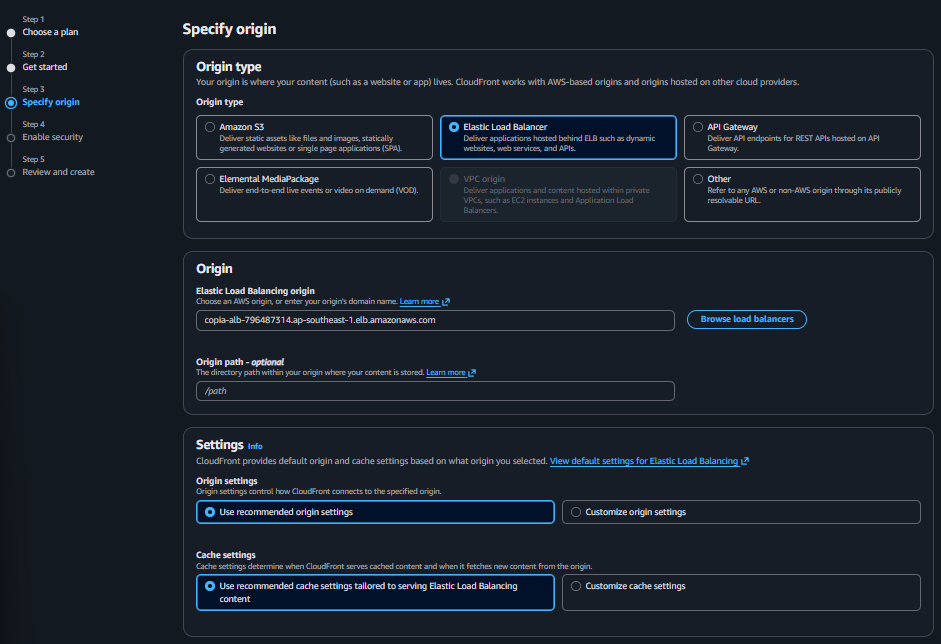
Specify origin using Elastic Load Balancer selection
5. Enable Security (Web Application Firewall - WAF)
- In the security configuration section, leave the settings at their default values (keep the default “Enable security protections”).
-
Under current AWS policies, basic security/WAF protection is enabled by default to prevent malicious traffic. Leaving this at the default setting is recommended for compliance with the latest console flow.
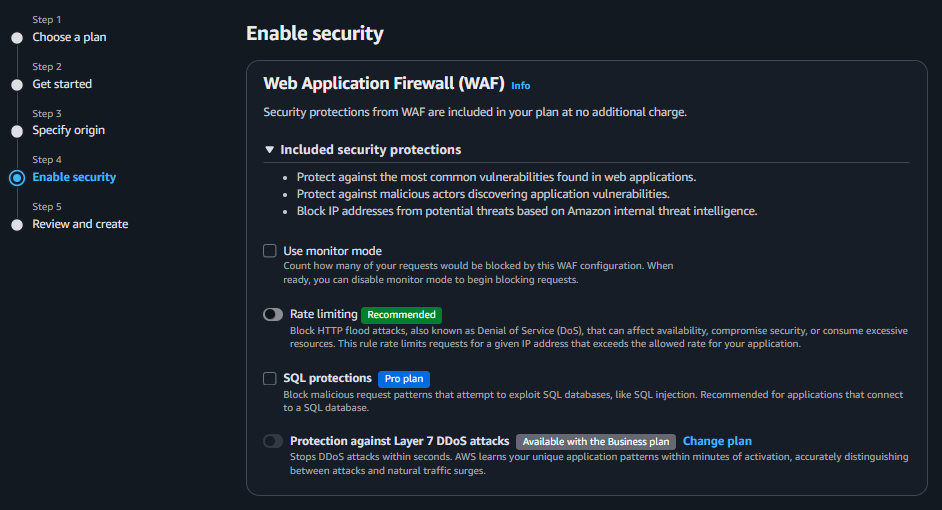
Keep the default security settings
6. Review and Create
- Review all settings, scroll to the bottom, and click Create distribution.
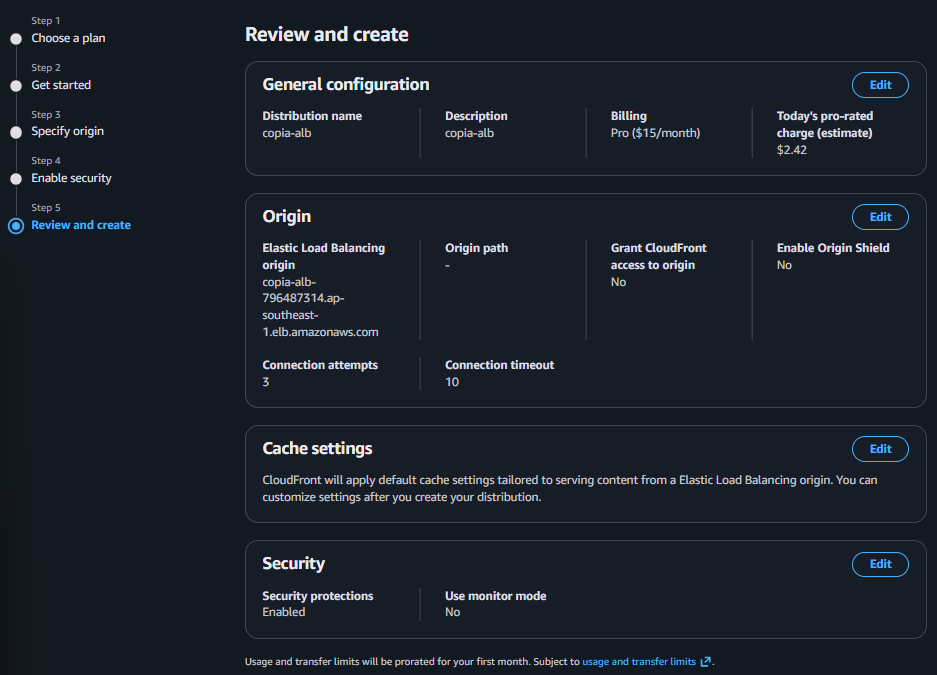
Create CloudFront Distribution
7. Configure Origins (Origins Tab)
- Once the distribution is created, click on its ID to open the details.
- Switch to the Origins tab.
- Here you can verify that the origin has been successfully created and points to the Elastic Load Balancer
copia-alb. You can edit it or add new origins if needed.
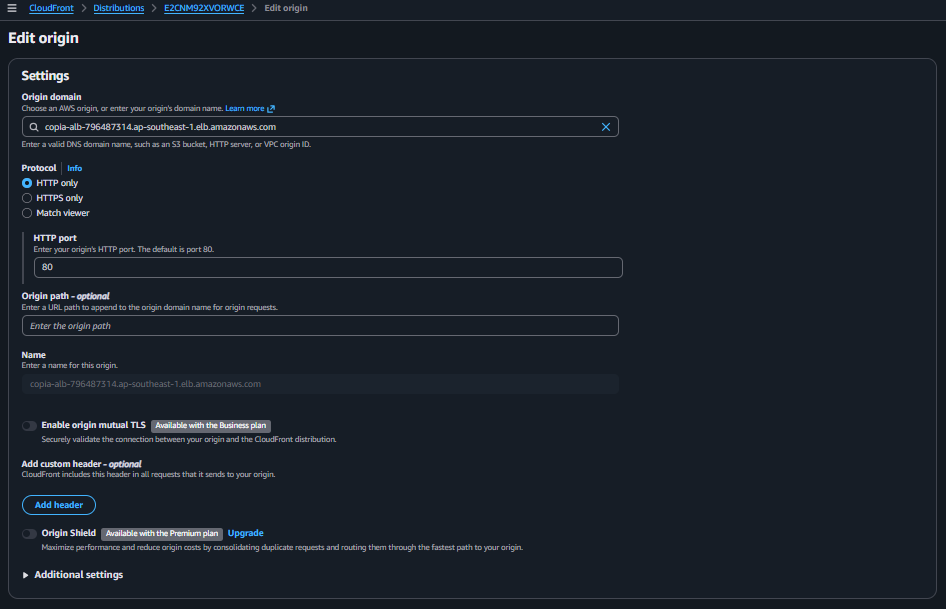
Verify the Origin in the Origins tab
8. Configure Behaviors (Behaviors Tab)
- Switch to the Behaviors tab. This is a critical step to ensure the API handles dynamic requests correctly.
- Select the default behavior
Default (*)and click Edit. - Configure the following settings:
- Cache policy: Select
CachingDisabled(since API requests are dynamic, caching should be disabled). - Origin request policy - optional: Select
AllViewer(to forward all headers, cookies, and query strings to the backend).
- Cache policy: Select
- Click Save changes.
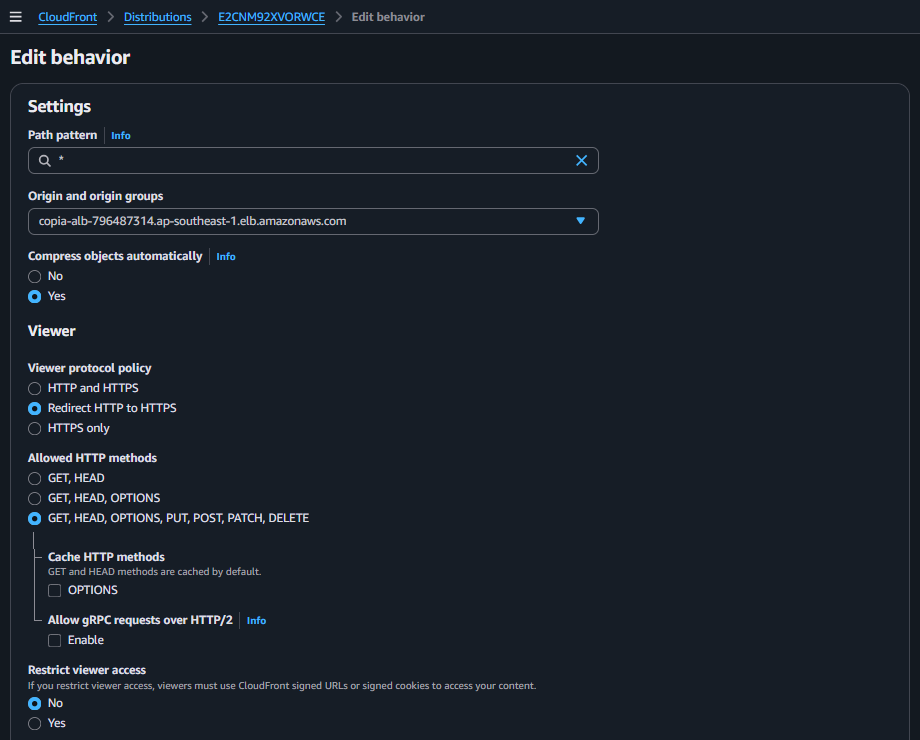
Configure Cache Behavior in the Behaviors tab
9. Finalize, Deploy, and Test
- The process of deploying a new distribution or applying changes across CloudFront’s entire network can take 5 to 15 minutes. You will see the status as
Deploying.
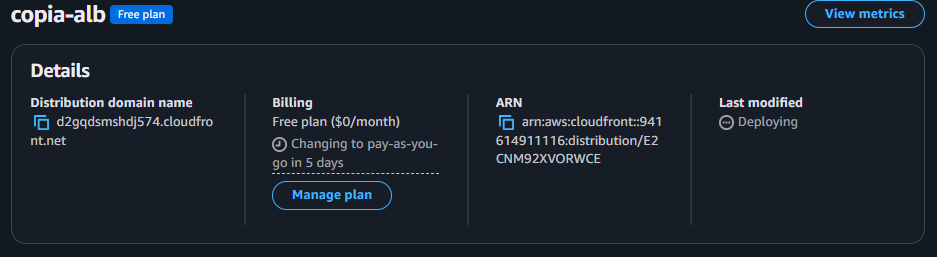
Wait for CloudFront to finish deploying
- When the status changes to show a Last modified date, copy the Distribution domain name (e.g.,
d12345abcdef.cloudfront.net).
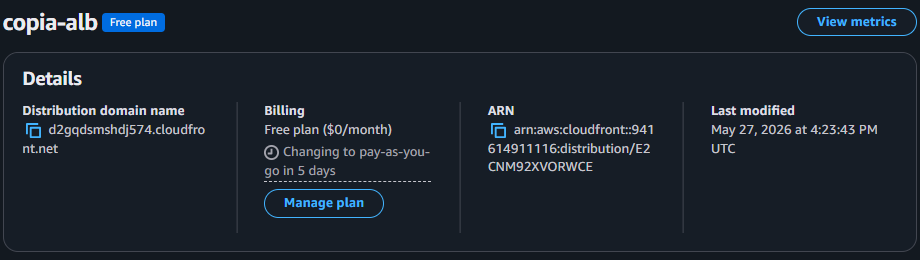
Copy the Distribution Domain Name
- Paste this domain name into your browser. The response should be identical to when you accessed the ALB’s DNS:
Welcome to Copia Backend API!. This confirms that CloudFront has been successfully configured to act as a proxy for your ALB.