Create VPC and Subnets
Create the Network Environment (VPC)
ℹ️ Objective
- Create an isolated virtual network environment (VPC) in AWS for the Copia project.
- Use the “VPC and more” wizard to automatically set up the necessary network components, including Public Subnets, Private Subnets, an Internet Gateway, and Route Tables.
🔒 Steps to Follow
1. Access the VPC Service
- From the AWS Management Console, search for the VPC service.
- Select VPC from the search results to go to the VPC management page.
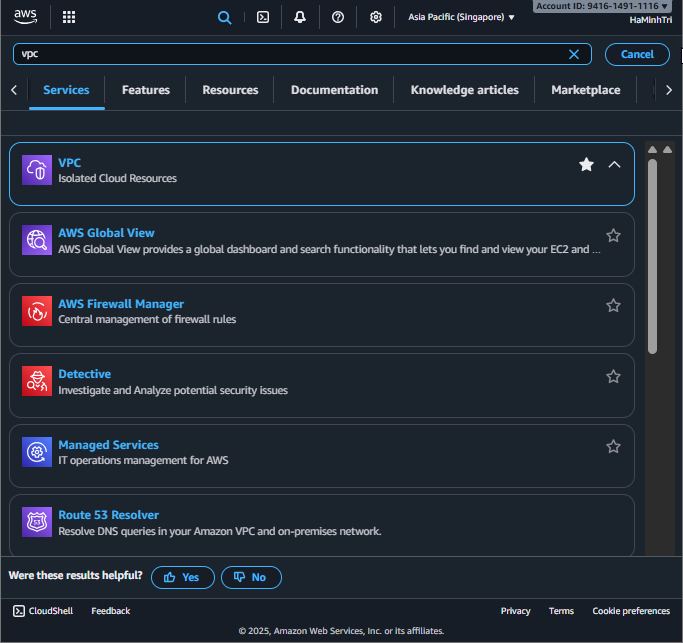
Search for the VPC service
2. Start Creating the VPC
- In the VPC Dashboard, on the left menu, select Your VPCs.
- Click the Create VPC button in the upper right corner.
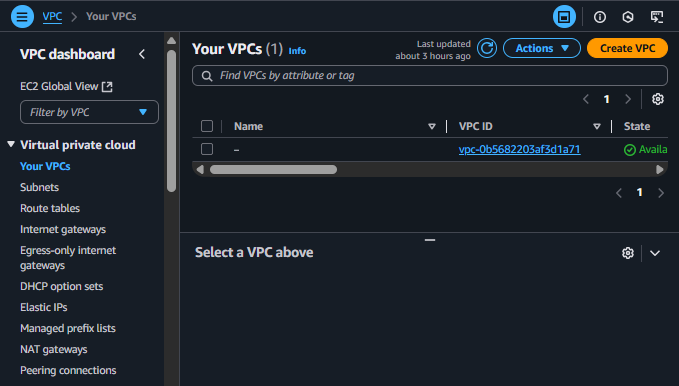
Click the Create VPC button
3. Configure VPC Parameters
-
On the Create VPC page, under the Resources to create section, make sure you have selected VPC and more to use the automatic creation wizard.
-
Detailed configuration:
- Name tag auto-generation:
copia-vpc - IPv4 CIDR block: Leave the default
10.0.0.0/16. - Number of Availability Zones (AZs):
2 - Number of Public subnets:
2 - Number of Private subnets:
2 - NAT gateways:
None(To save costs for this workshop). - VPC endpoints:
None
- Name tag auto-generation:
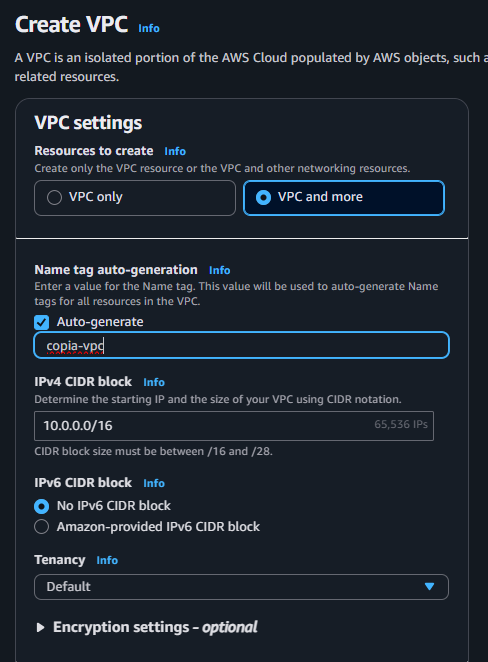
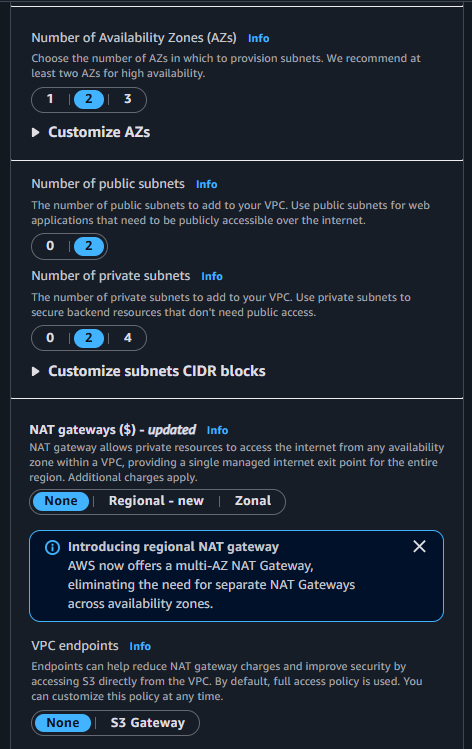
Configure VPC and more for the project
Explanation: We are creating 2 Public Subnets to place resources that need internet access, like the Load Balancer, and 2 Private Subnets to protect sensitive resources like the EC2 backend and RDS database. Spanning across 2 AZs helps increase the system’s High Availability.
4. Finalize and Create the VPC
- After filling in all the information, scroll down and click on Create VPC.
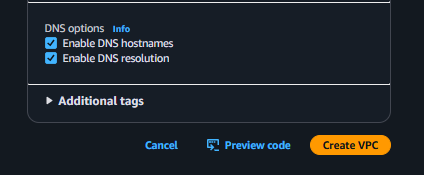
Finalize and create the VPC
5. Check the Result
- The process of creating the network resources may take a few minutes. Once completed, you will see a success message.
- Click on View VPC to review the resources that have been created.
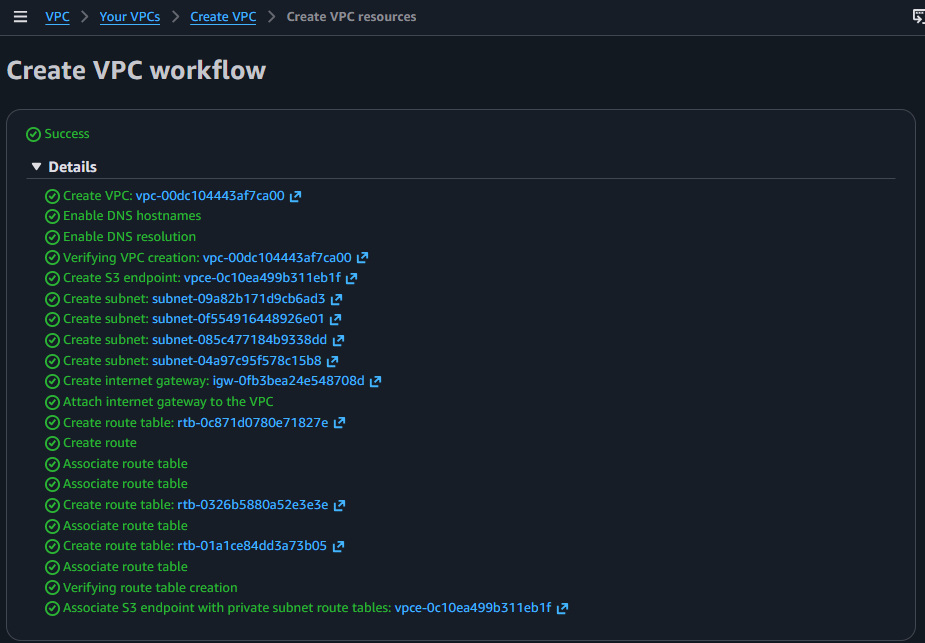
VPC creation success message
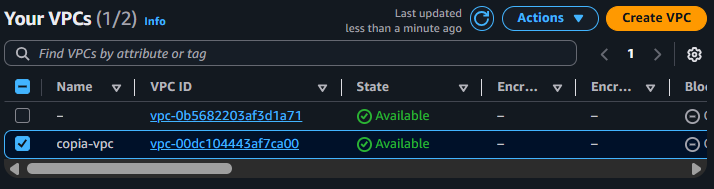
- You will be redirected to the list of VPCs. Here, the newly created
copia-vpcwill have the status Available, ready for the next configuration steps.