Create Amazon Machine Image (AMI)
Create an AMI from the Configured EC2 Instance
ℹ️ Objective
- An Amazon Machine Image (AMI) is a “snapshot” or a complete backup of an EC2 instance, including the operating system, installed software, and all configurations.
- The purpose of creating an AMI in this workshop is to have a standard “blueprint” for the web server. This blueprint will be used by the Launch Template and Auto Scaling Group in later steps to automatically create identical copies of the server when scaling is needed.
🔒 Steps to Follow
1. Select the Source EC2 Instance
- In the EC2 Dashboard, navigate to Instances.
- From the list, select the
copia-ec2instance that you have created and will configure in the following steps.
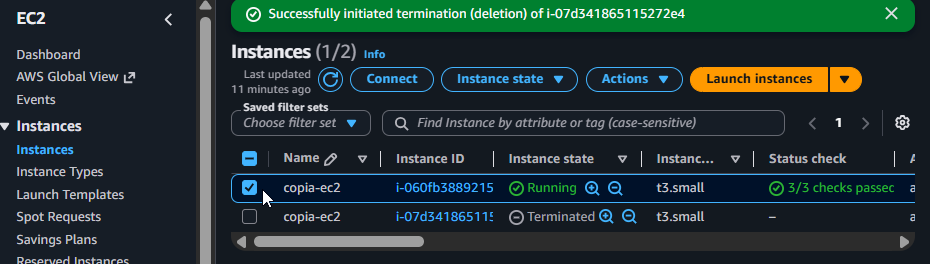
Select the copia-ec2 instance as the source
2. Start the Image Creation Process
- After selecting the instance, click on the Actions menu.
- Choose Image and templates.
- Select Create image.
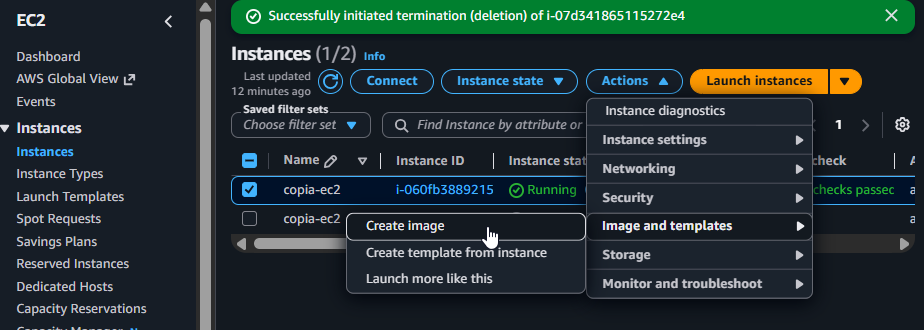
Start creating an Image from the Actions menu
3. Configure Information for the AMI
- On the Create image page, fill in the following information:
- Image name:
copia-ami - Image description:
copia-ami
- Image name:
- Other options can be left as default. This ensures the AMI will retain the entire configuration of the original instance.
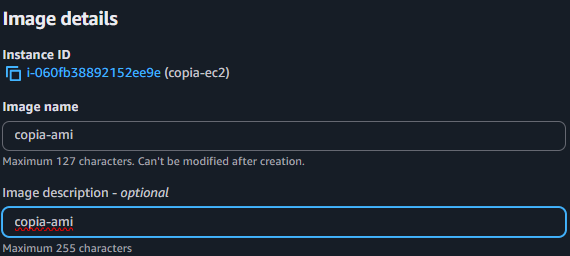
Fill in the configuration information for the AMI
4. Finalize and Check the Status
-
Scroll down and click Create image.
-
You will receive a notification that the AMI creation request has been submitted successfully.
-
To monitor the progress:
- On the left menu, under the Images section, select AMIs.
- You will see the
copia-amiAMI in apendingstate. - This process may take a few minutes. Please wait until the Status column changes to
Available.
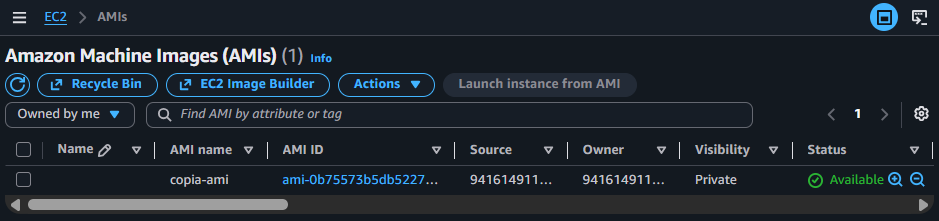
Check that the AMI status has changed to Available
Excellent! You have successfully created a complete server blueprint. Any EC2 instance created from this AMI will have everything you’ve installed, ready to serve users immediately.